Floor Screeding Preparation Checklist for Melbourne Homes
It is all about getting your floor in order prior to screeding that can create a long lasting, uniform surface as compared to failing to do so resulting in expensive mistakes in the future. So, you need to refurbish a bathroom, stocking tiles or modernize your floors all through your house; you need to adhere to a projected floor screeding preparation Melbourne checklist to become successful.
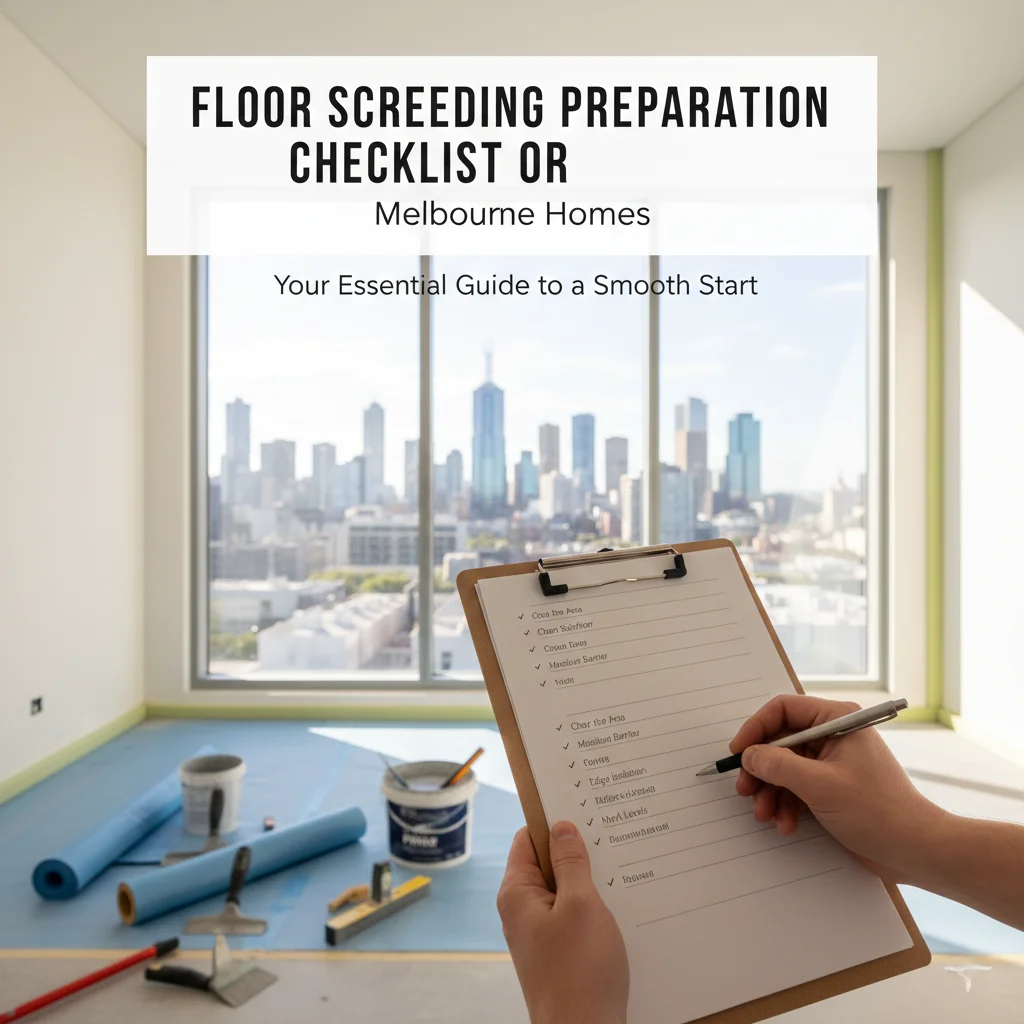
Call 0414 060 534 for a free phone consultation with our licensed & Professional Floor Screeding team In Melbourne.
Here, you will understand the necessary procedures to prepare your floor, including surface check, moisture control, in order that once the work of Complete Construction Service team members comes to apply screed, it bonds properly, cures properly and lasts many years.
What Is Screeding and Why Preparation Is Important?
Screeding This process involves pouring cement or polymer-based substance into place to level and make a floor to the necessary finish and smoothness. It forms the base of finishes including tiles, polished concrete, timber or vinyl.
Still the finest screed mix will not work unless the surface on which it is placed has been prepared in advance. The result of poor preparation may include cracking, levelling problems, moisture problems, and delamination – which is typical of Melbourne houses because of bad weather and old substrates.
Call 0414 060 534 for a free phone consultation with our licensed & Professional Floor Screeding team In Melbourne.
That is why screeding installation preparation in Melbourne is a significant difference in quality and durability.
Evaluate the Substrate Uncovered by the Floors – The Preliminary Evaluation.
Prior to screed falling on the floor, master contractors follow a Floor Screeding Preparation Checklist in order to determine current conditions. Some of the major aspects that should be considered include:
- Surface Type & Condition
- Plain concrete slab
- Existing tiles or coverings
- Timber or plywood subfloors
- Exposed aggregate
The requirements of each type of surface differ. As an example, removal of adhesive may be necessary in screeding of old tiles and plywood may be necessary on timber floors.
Damage & Cracks
These include checking cracks, spalling and loose fragments. The cracks larger than the size of a hairline tend to require repairing, and then screeding to avoid the telegraphing of those cracks through the new surface.
Moisture Levels
The climate in Melbourne is both wet and dry and the moisture that is acquired below may lead to screed failure. Before screeding, there is a moisture test (which could be a calcium chloride test or electronic meter).
Wipe the Surface With Cleanses
The area should be clean before any screed is put on and should be without:
- Dust and loose particles
- Oils, grease or sealers
- Paint splashes
- Adhesive residues
An unclean surface will affect the adhesion between screed and substrate. Contractors in most instances prepare the surface with the help of industrial vacuums, mechanical scrubbers or sometimes light grinding.
Repair and Leveling – Floor Screeding Preparation Checklist
Any damage on the floor also should be repaired after cleaning has been done. This might include:
- Sealing cracks with relevant repair mortars
- Grinding down high spots
- Filling in low areas with a similar filler
- Ensuring surface strength
These problems can be fixed prior to screeding so that thick patches do not need to be applied later on which results in crack.
Apply a Suitable Primer
Priming is needed, particularly on dusty or porous surfaces. High-quality primer promotes the bond between the substrate and the screed, and is also used to seal the substrate to allow uniform bonding.
Drying in humid places like Melbourne can also be controlled by the right primer which also helps in controlling moisture absorption.
Plan Levels and Drainage Falls
Planning levels and falls are also one of the least considered aspects of preparation. This is particularly necessary in:
- Bathrooms
- Balconies or terraces
- Laundry areas
- Kitchens
The screed should be laid at the proper slope on the direction towards drains. Wrong planning in this case may cause pooling of water and permanent damage, although the screed itself may be perfect.
Mark Reference Levels
The screeding contractors who have experience employ laser levels or chalk lines to determine reference points in the room. These guides help guarantee:
- Consistent thickness
- Proper falls to drains
- Uniform final surface
Screeds may turn out to be uneven even with due proper application without clear references.
Dampness Testing Pre-screening
Test of moisture content of the substrate is critical in avoiding problems in the future like:
- Screed delamination
- Efflorescence
- Tile adhesive failure
Moisture tests are normally carried out at the eve of installation and are reported in relation of humidity as a percent (RH).
Protect Surrounding Areas
The preparation of floors is not only regarding the screed area. Surge protection adjacent surfaces prevents a dirty installation:
- Drop cloths or plastic sheets
- Skirt boards and fittings that are masked
- Close doorways to hold dust
- Due to proper containment, the project will run smoothly, particularly in busy Melbourne houses.
Talk Materials and Expectations
An established contractor will explain the materials to be used, the approximate time it will be cured and the on-site issues before the commencement of work.
For Instance:
- Wet area screeds, polymer-modified
- Self-levelling smooth finishes
- Additives for faster drying
It is included in the floor screeding preparation manual that divides professional service and guesses.
Last Pre-Screed Inspection
A final walk through should ensure before screed is applied that:
- Substrate is prepared and free of contaminants
- Cracks & damage repaired
- Primer applied
- Levels marked
- Moisture acceptable
- Areas protected
This check lasts before the usual problems and provides a strong background to the installation.
The importance of Floor Screeding Preparation Checklist
Flooring systems can be pressurised by the climate of Melbourne. Such factors as heavy rains, changing humidity, and an amalgamation of old and new building substrates imply that the preparation of floor screeding in Melbourne requires thoroughness and scientific knowledge to be diligent.
The risk of is minimized by attention to detail at this stage:
- Uneven surfaces
- Screed cracking
- Tile adhesion failure
- Under floor finishes water intrusion
- Melbourne Professional Screeding Services
Professional support is important as far as preparation and execution are concerned. Complete Construction Service provides professional floor screeding services in Melbourne with the concentration on:
Thorough assessment of the substrate:
- Moisture testing
- Surface preparation
- Precision level setting
- Good materials and usage
We assist Melbourne homeowners in the provision of floors that look good and perform over years.
Final Takeaway About Floor Screeding Preparation Checklist:
Preparation is not optional – it is a prerequisite. An under prepared substrate enhances the chances of screed failure, expensive repair and early wear of floor. Using the above Floor Screeding Preparation Checklist, you will be able to get your flooring project off on the right foot.
Call 0414 060 534 for a free phone consultation with our licensed & Professional Floor Screeding team In Melbourne.
To have professional advice, precise measurement and quality work, call Complete Construction Service and know the flooring and screeding people one can trust in Melbourne.